How to install PrismaORM and how to start using the Prisma ORM with Nest JS
Installing Prisma ORM
yarn add -D prisma
Adding Prisma as a development package
yarn add @prisma/client
- Adding Prisma client
Now we have access to the Prisma CLI
npx prisma init
This command will initialize Prisma in our project. It will generate certain files for us.
One of the files is the .env file for storing the environment variables like DATABASE_URL etc.
The sample DATABASE_URL is automatically generated.

A Prisma folder is also auto-generated which contains a schema file.
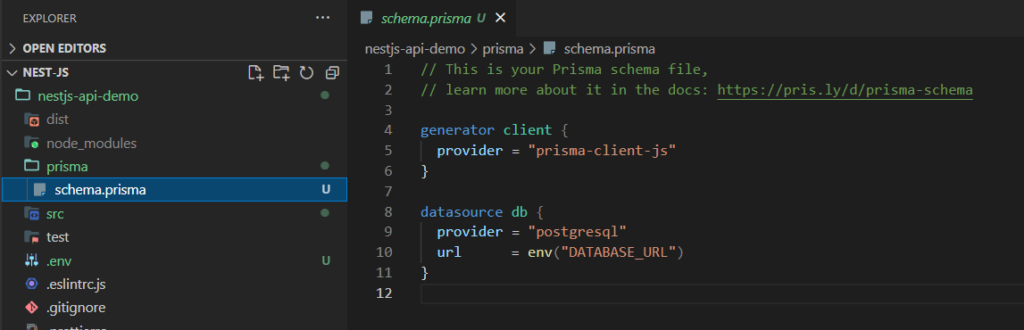
Creating models for entities in PrismaORM – Example
schema.prisma file
model User {
  id        Int      @id @default(autoincrement())
  createdAt DateTime @default(now())
  updatedAt DateTime @updatedAt

  email String
  hash  String

  firstName String?
  lastName  String?
}

model Bookmark {
  id        Int      @id @default(autoincrement())
  createdAt DateTime @default(now())
  updatedAt DateTime @updatedAt

  title       String
  description String?
  link        String
}
firstName String? id an optional
? is used for specifying optional
Get the List of All Prisma Commands
npx prisma --help
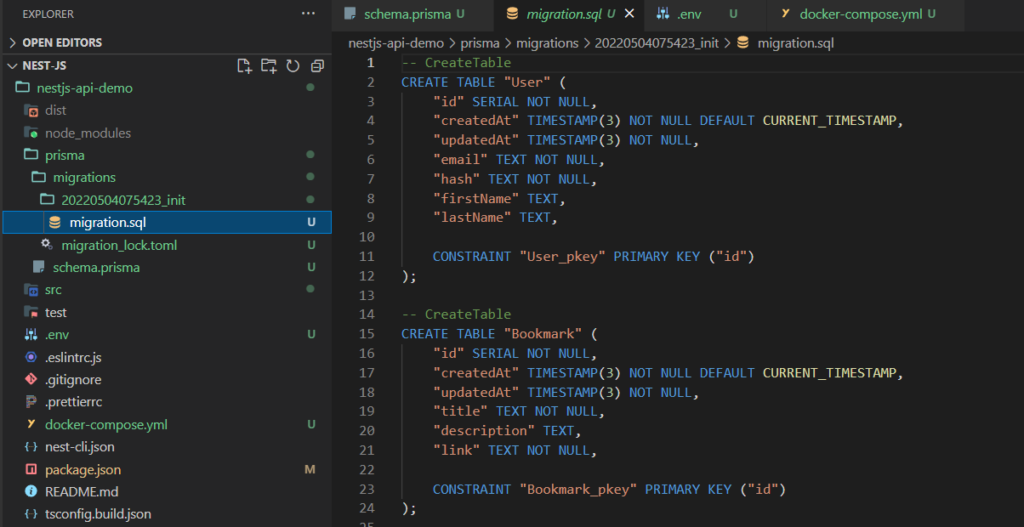
After creating model we can do migration
npx prisma migrate dev
This will generate the migrations
Inspect the database using Prisma Studio
npx prisma studio


